

In Lesson 4 of Pasta School, we stepped away from eggs and learned how to make a simple eggless pasta dough using flour and water. Now, in Lesson 5, we’re going to put that dough to work and make one of my favorite handmade pasta shapes: pici.
Pici (pronounced PEE-chee) is a thick, rustic, hand-rolled pasta most closely associated with Siena and the surrounding countryside of southern Tuscany. At first glance, it looks a little like thick spaghetti, but pici has something spaghetti doesn’t: every single strand is shaped by hand.
And that is exactly what makes it so special.
Pici comes from Tuscany’s cucina povera tradition; the resourceful cooking of rural families who created wonderful food from the simplest ingredients available to them. Traditionally made with little more than flour and water, pici required no eggs and no special equipment.
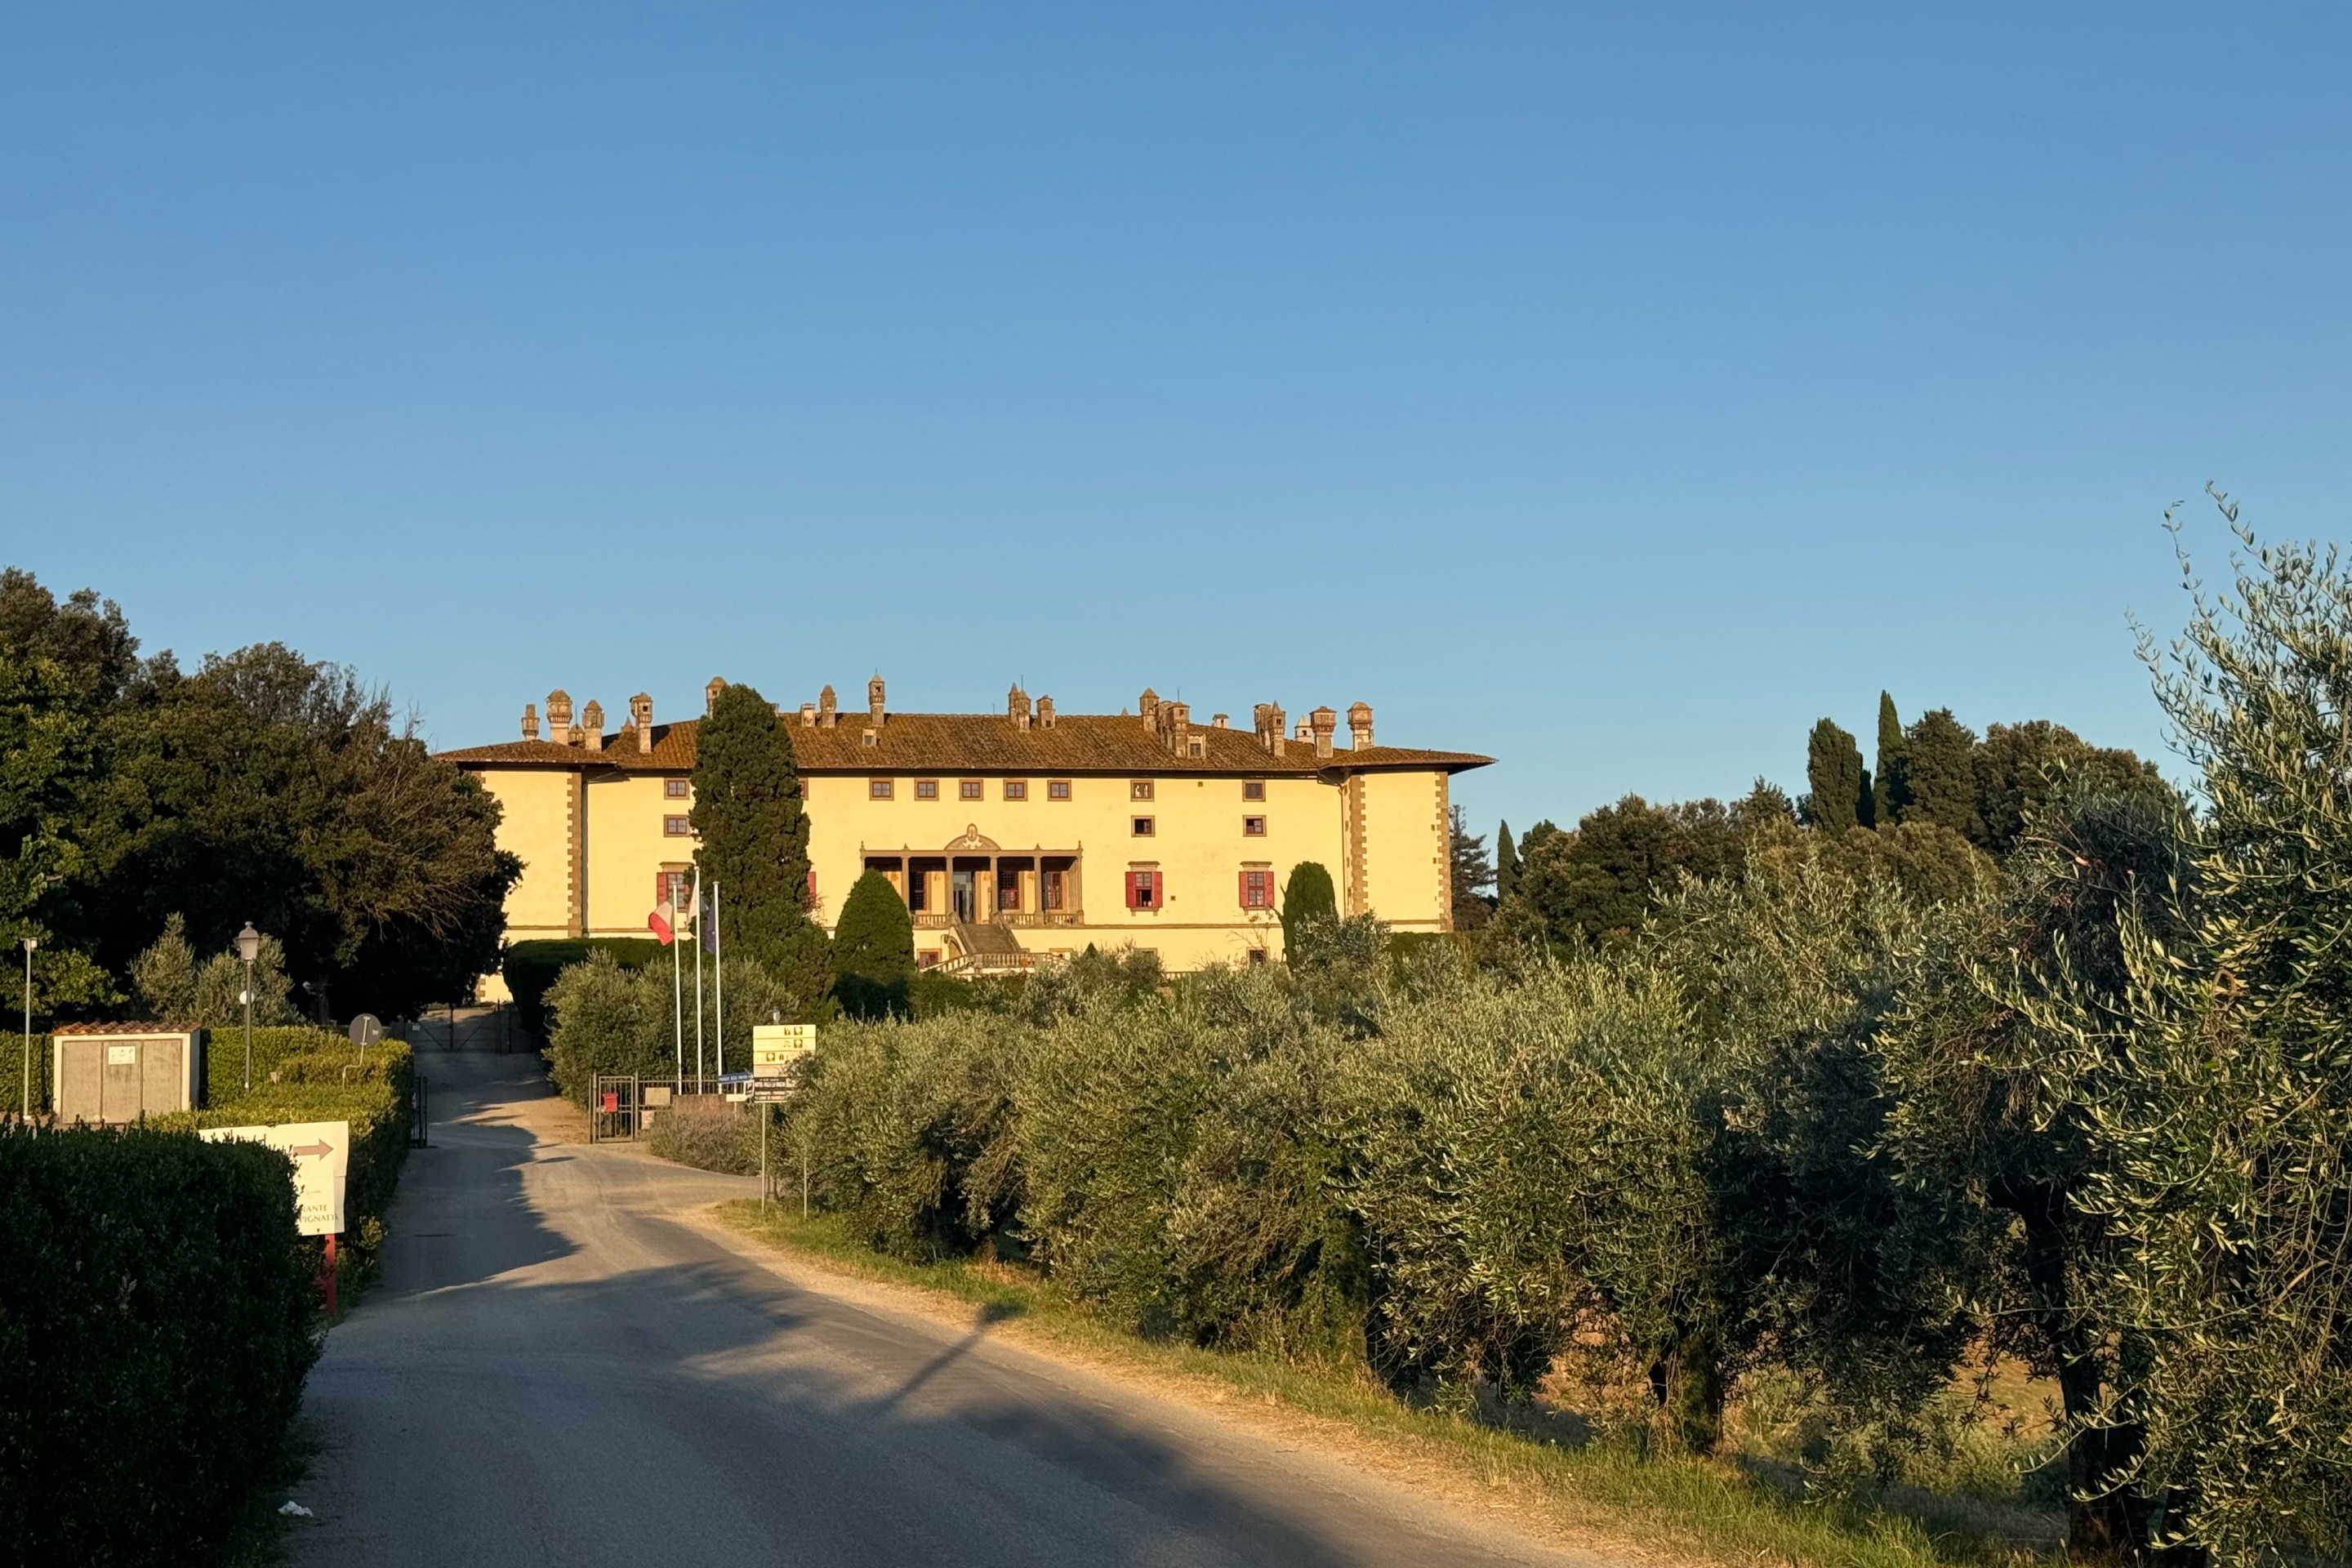
Its history runs deep. Tuscan sources trace versions of this simple hand-rolled pasta back centuries, with some traditions even connecting its origins to the Etruscans. Pici became especially associated with Siena and the Val d’Orcia, including towns such as Pienza, Montepulciano and Montalcino, where it may also be called pinci.
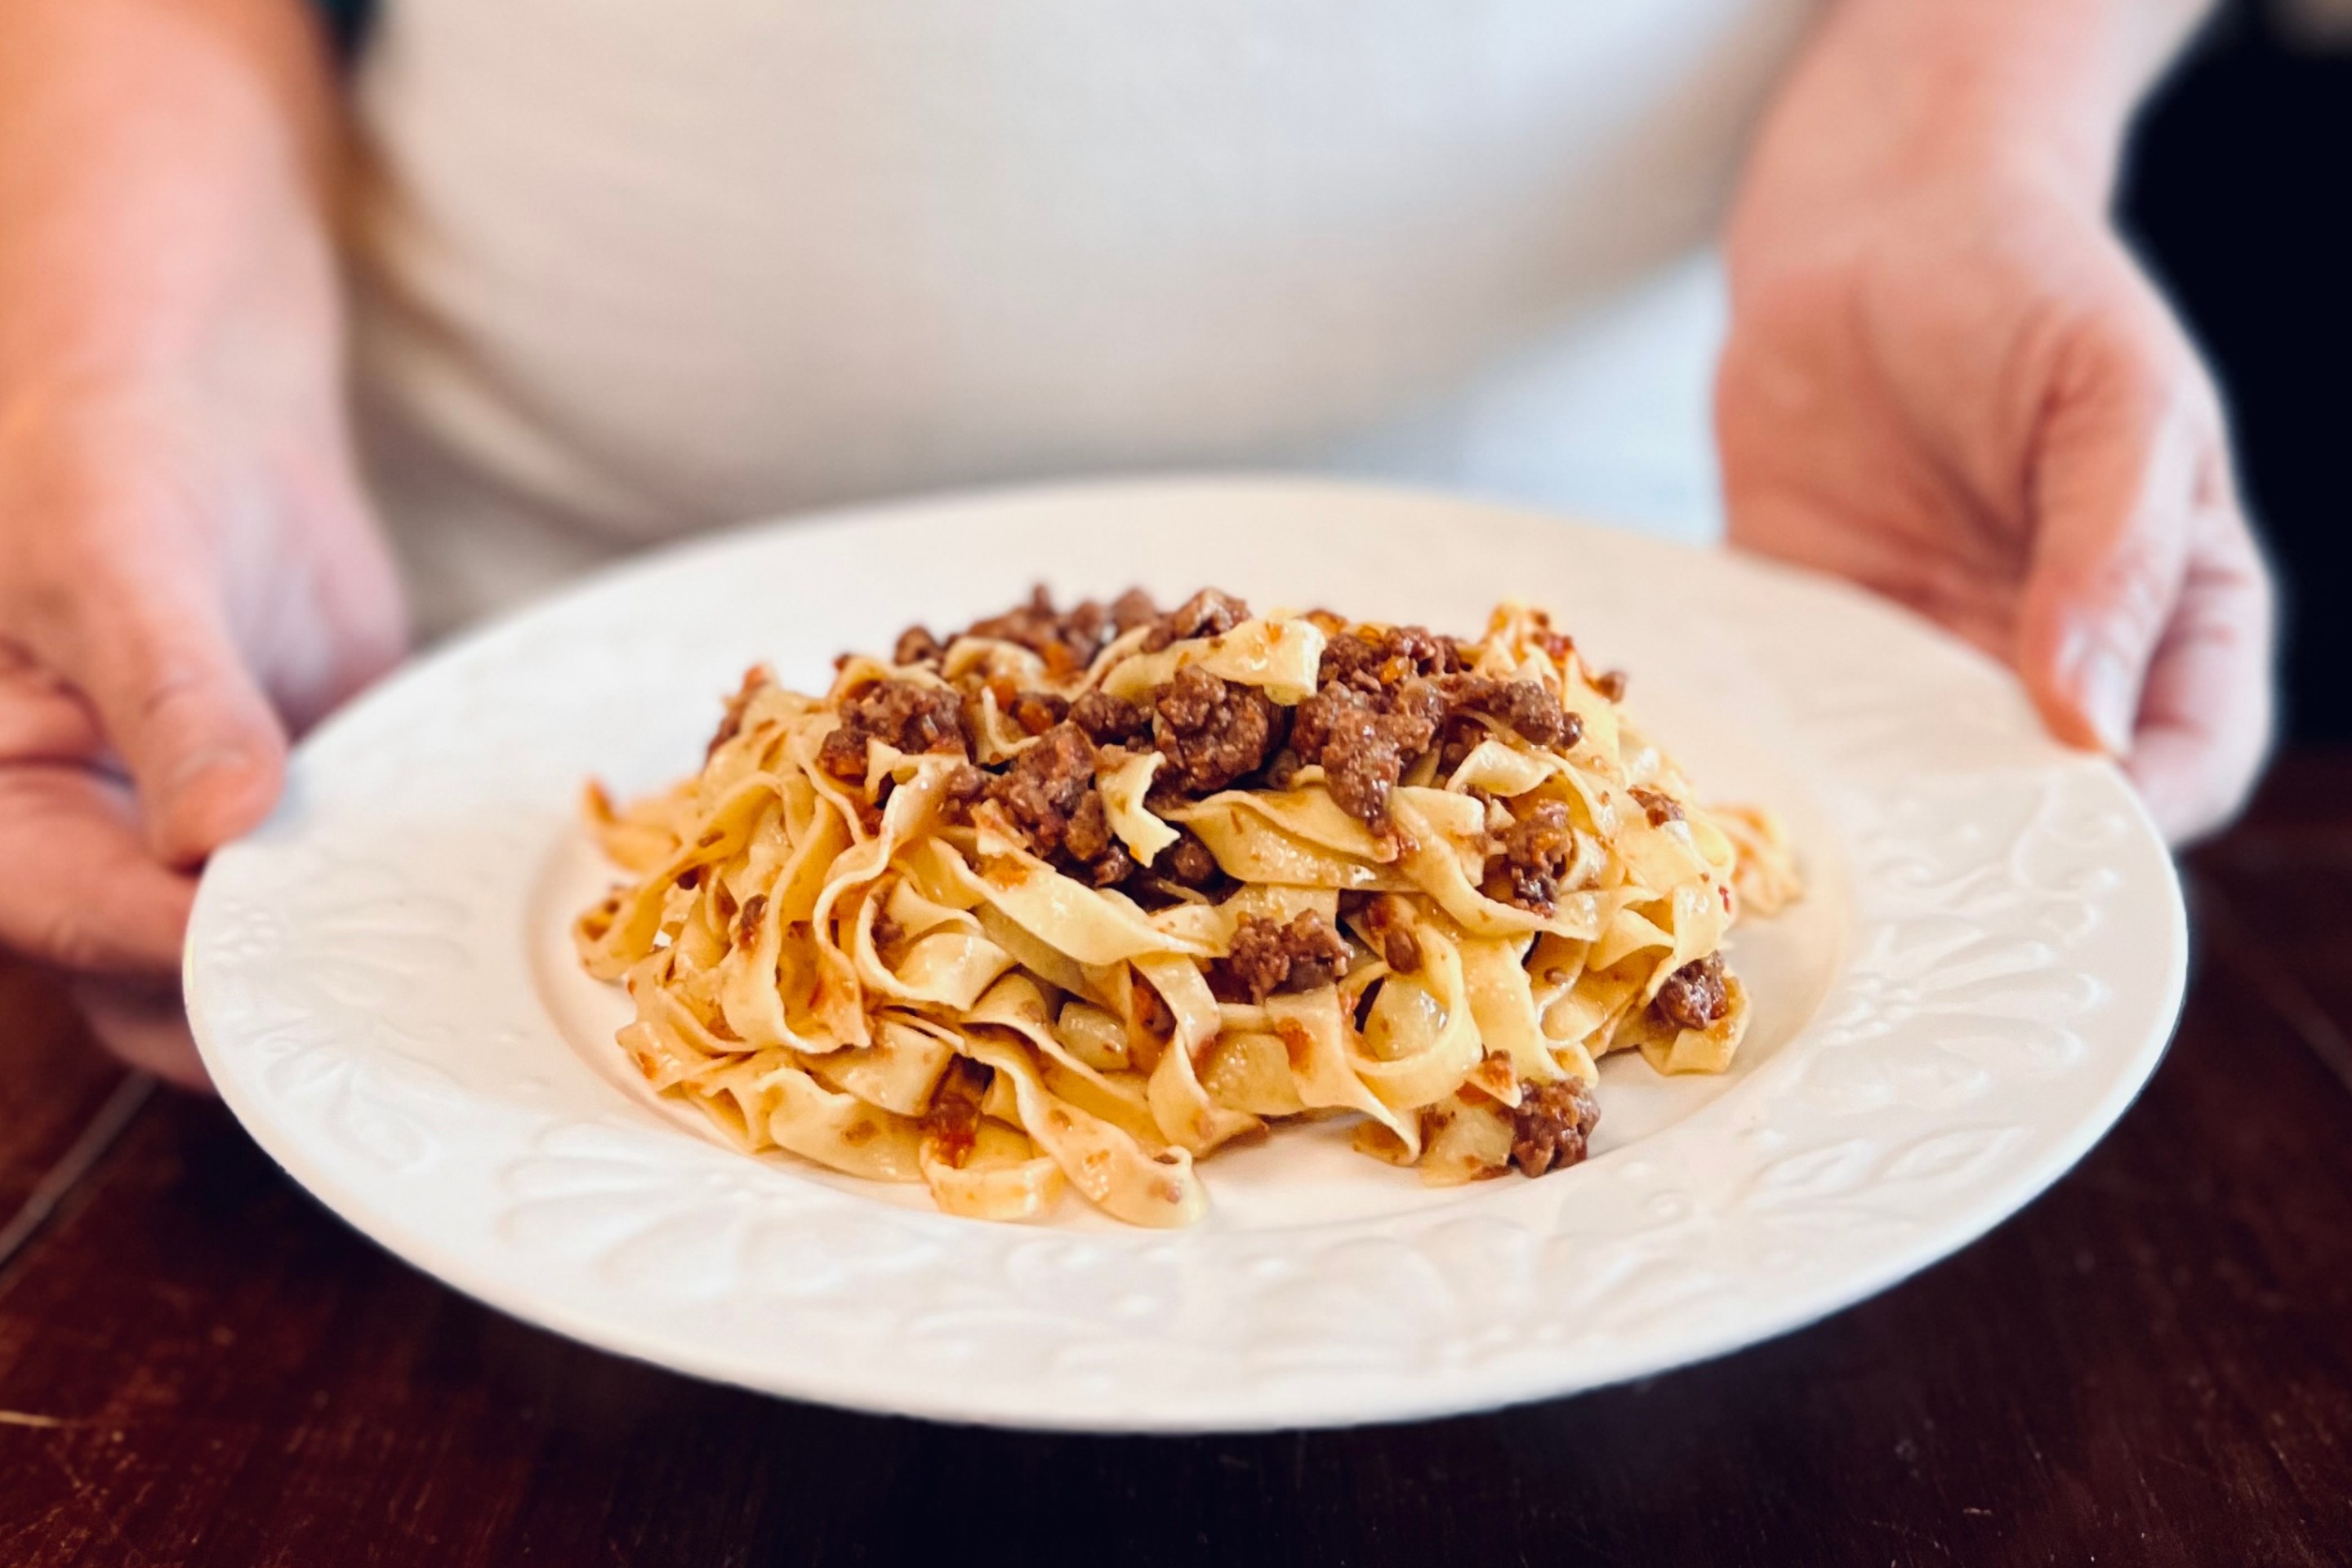
Traditionally, pici is served with equally rustic sauces. You’ll find it with sugo all’aglione, a Tuscan tomato sauce made with aglione garlic; with hearty meat ragù or wild boar; with breadcrumbs; or simply with cheese and black pepper.
The beauty of pici is that you need no pasta machine and no special cutter. Just your dough, your hands and a work surface.
And remember my Pasta School motto: perfettamente imperfetto.
If there were ever a pasta made for that philosophy, it’s pici.
Using the eggless pasta dough from Lesson 4
Prepare the eggless pasta dough from Lesson 4 and allow it to rest for at least 30 minutes before beginning.
Resting is especially important here. It allows the flour to fully hydrate and the gluten to relax, making the dough much easier to stretch and roll into those long pici strands.
Step 1: Prepare your work surface
Lightly dust your work surface with flour or semolina.
Divide your rested dough into manageable pieces, keeping any dough you aren't working with covered with a kitchen towel or plastic wrap.
Eggless dough can dry quickly, and we want it soft and pliable while we're rolling.
Step 2: Flatten the dough
Take one portion of dough and gently flatten it with your hands.
Using a rolling pin, roll it into a rough sheet approximately ¼ to ½ inch thick.
Don't worry about making a perfect rectangle. We're about to cut this dough into strips, so rustic is exactly what we're looking for.
Step 3: Cut the strips
Using a sharp knife or pasta wheel, cut the dough into narrow strips.
Work with only a few strips at a time and keep the remaining dough covered.
This is where your pici begins to take shape.
Step 4: Start rolling
Take one strip of dough and place it horizontally in front of you.
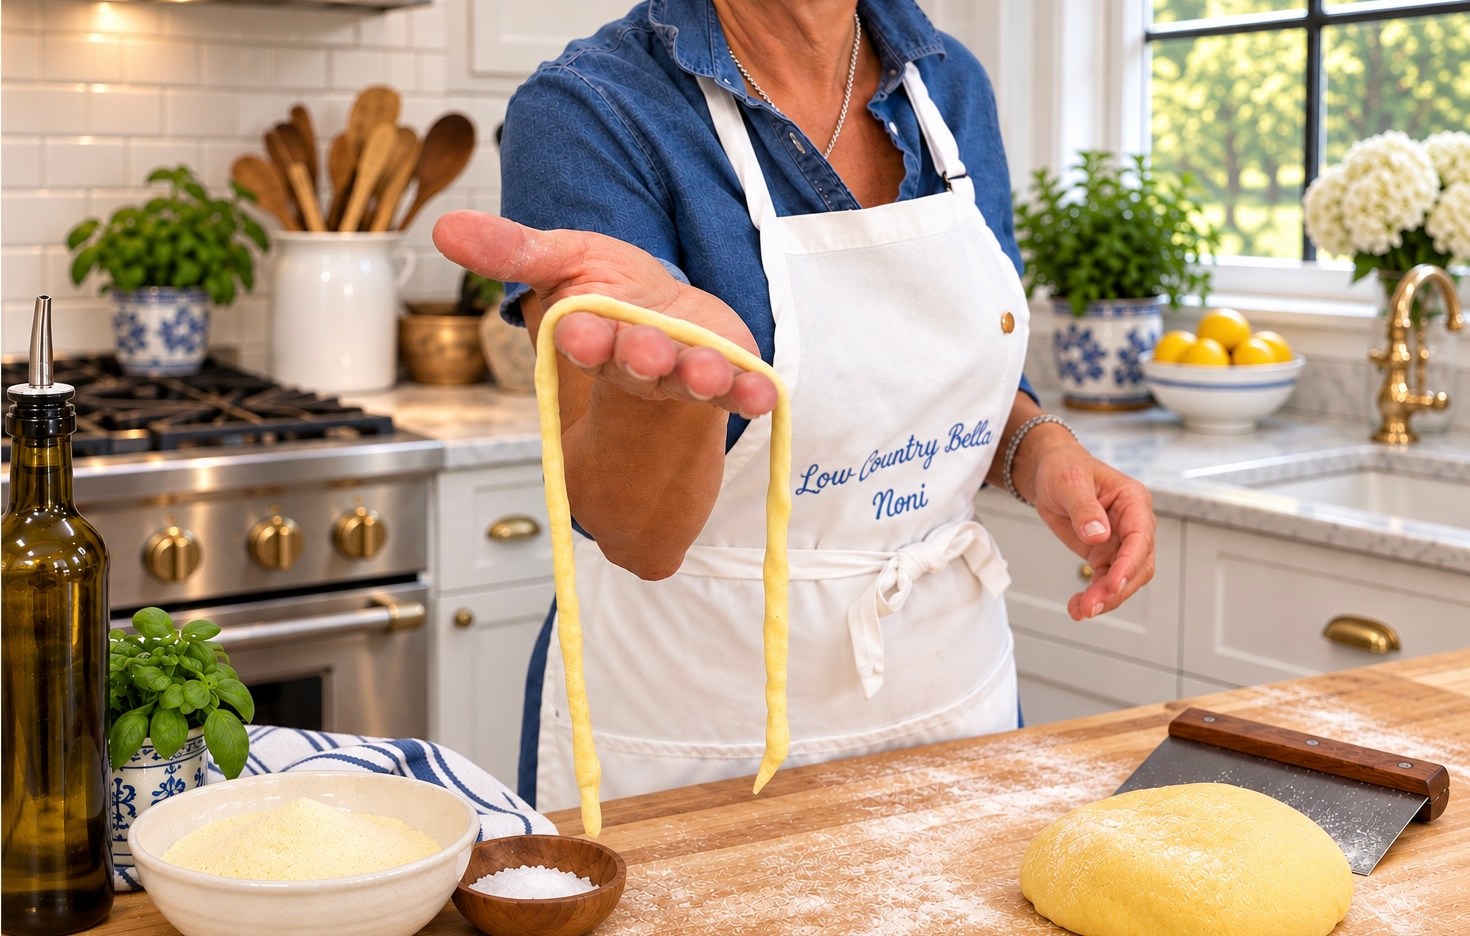
Beginning in the center, gently roll the dough back and forth beneath your palms while slowly moving your hands outward toward the ends.
Think of the motion you used as a child to roll modeling clay into a long rope.
Don't press too hard. Let your hands gradually stretch and lengthen the pasta.
Step 5: Keep rolling and stretching
Continue rolling until you have a long, round strand roughly the thickness of bucatini or a thin pencil.
Your pici does not need to be perfectly even from end to end.
Some areas will be a little thicker. Some will be thinner. One strand may be longer than the next.
That's handmade pasta.
In fact, those tiny imperfections are exactly what tell everyone you made it yourself.
Step 6: Dust and set aside
As each strand is finished, place it on a lightly floured or semolina-dusted baking sheet or work surface.
Give the strands a little room so they don't stick together.
Continue cutting, rolling and stretching until all of your dough has become pici.
This part takes a little time, but don't rush it. Pour yourself a glass of wine, turn on some Italian music and enjoy the process.
Making pasta is supposed to be part of the meal, not simply a means of getting dinner on the table.
Step 7: Cook the pici
Bring a large pot of generously salted water to a rolling boil.
Carefully add your fresh pici and stir gently to prevent the strands from sticking together.
Because handmade pici can vary in thickness, cooking time will vary. Begin checking the pasta after about 4–5 minutes.
Taste a strand rather than relying completely on the clock. You're looking for pasta that is tender but still pleasantly chewy.
Step 8: Finish in the sauce
Transfer the cooked pici directly into your prepared sauce along with a splash of pasta water.
Let everything cook together briefly so the sauce clings to those wonderfully rustic strands.
And never rinse fresh pasta, we want all that beautiful starch to help marry the pasta and sauce together.
Bella's Pasta School tip
When you're rolling pici, don't chase perfection.
If one strand is long and another is short, that's fine. If one is slightly thicker in the middle, that's fine too. And if a strand breaks while you're rolling it? You simply made two pieces of pici!
The goal is not to make pasta that looks like it came from a box. The goal is to make pasta that looks like it came from your hands.
Pici is one of the best examples of what I love about Italian cooking. Flour, water and a pair of hands can become something extraordinary.
For generations, Tuscan cooks have taken the simplest ingredients and turned them into food meant to be shared around a table. Five lessons into Pasta School, we're learning that making beautiful pasta isn't about expensive equipment or complicated techniques.
Sometimes all you really need is a little flour, a little water and the willingness to get your hands in the dough.
Until next time—keep your hands in the dough and your heart in Italy!
Do you need equipment to make your own pasta at home? Visit Lowcountry Bella’s Favorite Things list for her recommended supplies.
Love discovering Italy one bite at a time? Subscribe to the free Appetito newsletter for the latest in Italian food, travel and favorite recipes.