
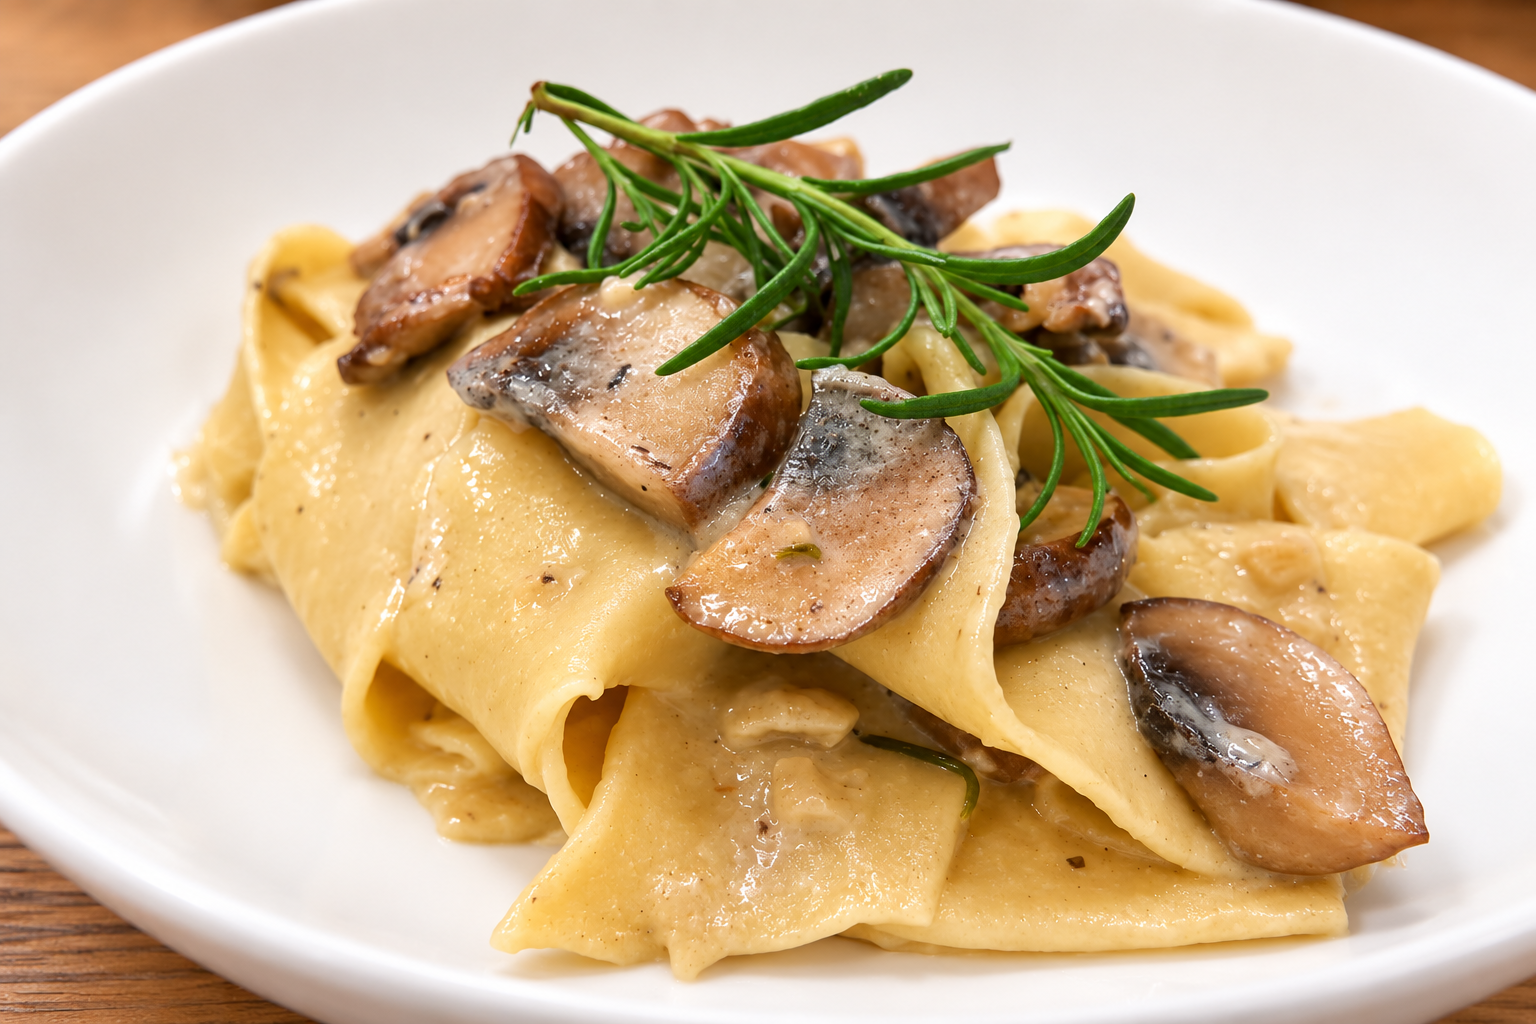
In Lesson One, we learned how to make a simple fresh egg pasta dough. In Lesson Two, we turned that dough into silky ribbons of fettuccine using a hand-crank pasta machine. Now, in Lesson Three, we’re heading to Tuscany to make one of my favorite rustic pasta shapes: hand-cut pappardelle.
Pappardelle are the beautiful, wide ribbons of pasta traditionally associated with Tuscany. Their name comes from the Italian verb pappare, meaning “to gobble up” or eat with gusto, which may be one of the most fitting pasta names ever created!
Unlike the narrower fettuccine we made in our last lesson, pappardelle are broad, rustic ribbons, traditionally about ¾ to 1 inch wide. That extra width makes them wonderful for holding hearty sauces. In Tuscany, you’ll often find pappardelle served with rich ragùs made with wild boar, hare or other slow-cooked meats, as well as earthy porcini mushrooms.
But one of the things I love most about pappardelle is its simplicity. You don't need the cutting attachment on your pasta machine. In fact, you don't need a machine at all to cut it. Once your pasta is rolled into thin sheets, a knife and your own two hands are all you need.
And remember what I always say in Pasta School: perfettamente imperfetto. Your ribbons don't have to be exactly the same width. A little variation is part of the charm of handmade pasta.
Make sure your dough has rested for at least 30 minutes before beginning.
Step 1: Prepare Your Dough
Lightly dust your work surface with 00 flour or semolina. Divide your rested pasta dough into four equal pieces.
Keep the pieces you're not working with covered with a kitchen towel or plastic wrap. Fresh pasta dough dries quickly, so keeping it covered is important.
Step 2: Flatten the Dough
Take one piece of dough and gently flatten it with your hands into a rough rectangle about ½ inch thick.
Don't worry about creating a perfect shape. You're simply making the dough thin enough to begin passing through your pasta machine.
Step 3: Begin Rolling
Set your pasta machine to its widest setting.
Pass the dough through once. Fold it into thirds, like a letter, rotate it 90 degrees and pass it through again.
Repeat this two or three times on the widest setting. This helps strengthen the dough and creates that beautiful, smooth pasta sheet we're looking for.
Step 4: Thin the Pasta
Begin reducing the roller setting one notch at a time, passing the pasta through each setting once.
Continue until you reach approximately setting #5 or #6 on most hand-crank machines. The pasta should be thin and silky, and you should almost be able to see the outline of your hand through it.
If your pasta sheet becomes too long to comfortably handle, simply cut it in half and continue working with the smaller pieces.
Step 5: Let the Sheets Rest
Lay your finished pasta sheets on a lightly floured work surface or hang them on a pasta drying rack for about 5–10 minutes.
We don't want the pasta to dry completely. We simply want the surface to lose a little of its moisture so the layers won't stick together when we cut them.
Step 6: Fold the Pasta
Lightly dust the pasta sheet with 00 flour or semolina.
Starting at one short end, loosely fold the sheet over itself several times, creating a flat roll. Do not press the layers together. Keep the folds loose so they will easily open back up after cutting.
Step 7: Hand-Cut the Pappardelle
Using a sharp chef's knife or pasta wheel, cut across the folded pasta into ribbons approximately ¾ to 1 inch wide.
This is where handmade pasta gets its personality. Don't reach for the ruler! Some ribbons may be slightly wider than others, and that's exactly how homemade pasta should look.
Step 8: Unfurl the Ribbons
Gently pick up each cut section and shake it loose with your fingers.
The folded pieces will fall open into long, beautiful ribbons of pappardelle.
Lightly toss them with semolina flour to keep them from sticking.
Step 9: Nest or Hang
You can loosely gather your pappardelle into nests and place them on a lightly floured baking sheet, or drape the ribbons over a pasta drying rack until you're ready to cook.
Be gentle when forming your nests. Fresh pasta loves a light touch.
Step 10: Cook
Bring a large pot of generously salted water to a rolling boil.
Fresh pappardelle cooks quickly, usually in about 2–3 minutes, depending on the thickness of your pasta. Taste a ribbon before draining. It should be tender but still have a little bite.
Bella's Pasta School Tip
Never rinse your fresh pasta. Transfer those beautiful ribbons directly into your sauce and let them finish cooking together for the last few moments. I served these with a buttery mushroom sauce, and it was perfect.
Pappardelle is proof that some of the most beautiful Italian food comes from the simplest techniques; a little flour, a few eggs, a knife and your own two hands.
Three lessons in, and that same simple egg dough from Lesson One has already shown us just how versatile fresh pasta can be.
Next time in Pasta School, we'll take our pasta-making skills in a completely different direction. Same Italian tradition, but this time we're leaving our egg dough behind.
Until next time—keep your hands in the dough and your heart in Italy.
Do you need equipment to make your own pasta at home? Visit Lowcountry Bella’s Favorite Things list for her favorite supplies.